
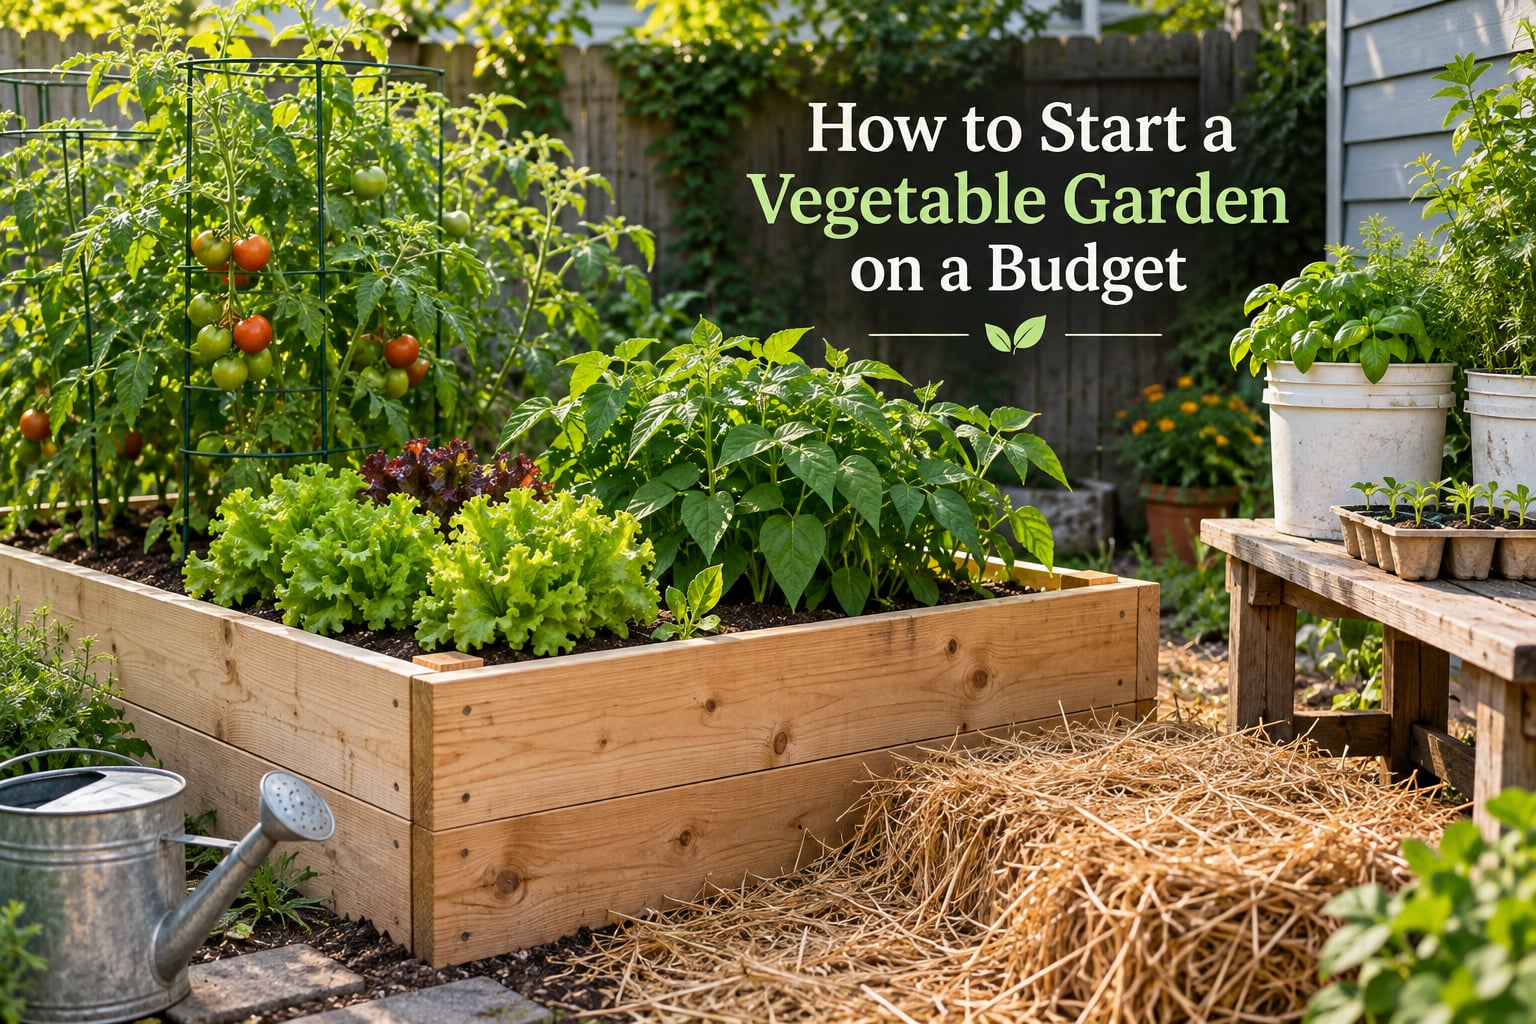
Learning how to start a vegetable garden on a budget comes down to four costs, and three of them are avoidable. A first-year garden can be built from a few bags of soil and a packet of seeds, or with a prebuilt bed kit, bought plants, premium amendments and decorative mulch. Same harvest potential, very different bill. Below is the cheap version, start to finish, timed for Edmonton’s short season. Updated for 2026. Every number here is a share of your spend or a ratio rather than a price, because prices move and the ratios hold.
I keep a garden in a city yard with a short summer and a squirrel population that has clearly organised itself. The plan: pick your path, pick your spot, build the bed yourself or skip it entirely, grow from seed, and spend what remains on good soil and reliable water.
Table of Contents
- How to Start a Vegetable Garden on a Budget: 7 Steps
- What It Actually Costs to Start
- Choose Your Path: Container, Small Bed, or Full Bed
- Pick the Spot: Sun, Water and the 70/30 Rule
- Build the Bed for Free or Near-Free
- Start Seeds Indoors or Buy Transplants?
- Edmonton Timing: Last Frost, First Frost and What That Means
- The Budget Shopping List: Buy First, Buy Second, Buy Never
- Ongoing Care on a Budget
- Planting for Your First Harvest Without Waste
- When a Budget Garden Actually Pays for It
- Frequently Asked Questions
- Conclusion
How to Start a Vegetable Garden on a Budget: 7 Steps
- Choose your growing space before you buy anything. A sunny patio, a 4 by 4 foot corner of lawn, or a full 4 by 8 foot bed. Deciding first stops you buying soil and seed for a setup your yard cannot support.
- Watch your spot for one week before building. Note where the sun actually lands, not where you wish it landed. Most vegetables want six to eight hours of direct light, and Edmonton delivers that in a compressed window.
- Pick a container or a bed, and skip the kit. Anything with six inches of depth works for leafy crops and herbs. Kits cost more and take longer to assemble than materials you already own.
- Start most seeds indoors six to eight weeks before last frost. A sunny windowsill, a reused egg carton and a plastic bag with a rubber band are a complete seed-starting setup.
- Fill the container or bed with a decent soil mix. Volume is length times width times depth, measured in feet, which gives you cubic feet. Do not fill a deep bed with a few inches of bagged mix over native soil.
- Harden off every seedling for seven to ten days. One hour outdoors on day one, adding an hour a day. Skipping this is the number one reason home-grown seedlings die a week after transplanting.
- Plant only what your household eats, then water deeply and less often. Mulch the top and pick the obvious harvest before it bolts. Waste is the most expensive thing a beginner garden produces.
What It Actually Costs to Start
No ranking page for this question gives an actual number, which is why they all feel vague. Here is the shape of the bill instead, as a share of your first-year spend. Translate each slice into whatever prices your hardware store charges on the day you shop.
| Line item | Container path | Small bed (4 by 4) | Full bed (4 by 8) |
|---|---|---|---|
| Growing vessel | Free to near-free: buckets, tubs, a window box | Majority of the bill | Majority of the bill, at twice the size |
| Soil and compost | Small slice | Roughly one third | Roughly half, and this is where volume bites |
| Seeds | Under ten percent | Under ten percent | Under ten percent |
| Transplants | Usually zero | Optional, herbs only | Optional, long-season crops only |
| Mulch and critter protection | Optional | Under fifteen percent | Under fifteen percent |
| Tools and watering | Free or borrowed | Small slice | Small slice |
| Each year after year one | Seeds only | Seeds plus small top-ups | Seeds, mulch and replacement plants |
One honest note on clearance. A reader on a popular budget-gardening blog wrote that her local store discounted ripped soil bags by only half one year, and that the deal depends on the branch. Treat every cheap-soil tip as store-dependent, not guaranteed.
The table compresses into one idea: every expansion of your footprint multiplies your soil bill faster than it multiplies your harvest, until you cross the point where you grow more than your family can eat.
Choose Your Path: Container, Small Bed, or Full Bed
The top answer on the highest-ranking forum thread for this question was blunt: start with containers, and buy one plant of whatever you want to try. That is right for a renter with no yard, and wrong for anyone with lawn and a hose, because containers dry out fast and cap how much you can grow.
| Container path | Small bed 4 by 4 | Full bed 4 by 8 | |
|---|---|---|---|
| Space needed | A patio corner or balcony with six hours of sun | Sixteen square feet of lawn | Thirty-two square feet, reachable from all sides |
| Share of first-year bill | Smallest of the three | Middle | Largest, driven by soil volume |
| Best for | Renters, apartments, testing what you like | One or two people, herbs plus staples | Larger households, preserving, seed saving |
| Time per week in season | Under an hour | One to two hours | Two to four hours |
| Main risk | Drying out in July heat | Overplanting a space you cannot fill | More harvest than you can use |
The easiest vegetable garden for beginners is a four by four foot raised bed in full sun, filled with a good soil mix. It is big enough to produce a meaningful harvest, small enough to water by hand in an afternoon, and narrow enough to reach the middle without stepping on the soil. With no yard at all, the container path is not a compromise, it is the correct answer.
Pick the Spot: Sun, Water and the 70/30 Rule
Sun is the one requirement you cannot fix later. Most fruiting vegetables want six to eight hours of direct sun, and leafy greens and herbs are content with four. Watch your intended spot across a full day for one week, because a tree or a neighbouring fence can steal the morning light without anyone noticing in a single visit. Stay away from tree roots, and keep the bed within hose reach of a spigot.
The 70/30 rule in gardening is a planting guideline: fill roughly seventy percent of your available space with sun-loving crops and reserve the remaining thirty percent for shade-tolerant crops such as lettuce, spinach, parsley, mint and chard. Beginners tend to plant an entire bed of tomatoes and then discover they have shaded everything behind them.
Build the Bed for Free or Near-Free
Raised beds are not required. You can garden straight in the ground if your soil drains well and you add compost, which is nearly free once a kitchen-scrap pile is running. Raised frames help where drainage is poor, soil is clay, or you want a tidy lawn edge. If you do build, untreated lumber is the standard budget choice, and cinder blocks, bricks or reclaimed pallet sides all work. Skip prebuilt kits: they are priced for convenience, and you are perfectly capable of four screws and a weekend.
Soil volume is the calculation most people get wrong. Length in feet times width in feet times depth in feet equals cubic feet, and every bag of garden soil has its volume printed on the label, so divide your total by the bag size. A 4 by 4 foot bed at one foot deep is sixteen cubic feet. A 4 by 8 at the same depth is thirty-two.
| Crop | Plants per square foot | Total in a 4 by 8 bed | Days to maturity |
|---|---|---|---|
| Tomatoes (staked) | 1 | 32 | 65 to 80 |
| Peppers | 1 | 32 | 70 to 80 |
| Cucumbers (trellised) | 1 | 32 | 55 to 70 |
| Bush beans | 9 | 288 | 50 to 60 |
| Beets | 9 | 288 | 50 to 60 |
| Lettuce | 4 | 128 | 40 to 55 |
| Carrots | 16 | 512 | 60 to 75 |
| Radishes | 16 | 512 | 22 to 30 |
| Herbs: basil, chives, parsley | 4 | 128 | Varies |
Treat that table as a ceiling, not a target. New gardeners routinely plant all thirty-two square feet, then cannot water, weed or harvest it. Plant half, plant what you eat, and double the second square in year two.
Start Seeds Indoors or Buy Transplants?
This is the biggest cost lever in the decision. A transplant is a young plant already started for you, ready to go into the ground or a container. Starting from seed costs a fraction as much per plant, but it costs six to eight weeks of indoor time and carries a failure rate.
The break-even is simple. Buy transplants only for crops that will not ripen in your season from seed, which in Edmonton means tomatoes, peppers and a few heat-loving melons. Grow everything else, including all brassicas, all root crops and all beans, from seed. Most packets hold enough seed for several plants, so one packet beats a tray of starts.
You do not need a seed-starting kit. A windowsill, clean egg cartons or plastic cups, seed-starting mix and a plastic bag with a rubber band over the top is a complete setup. Sow two seeds per cell and thin the loser, because germination is never certain. Label everything on day one with something you will still recognise in week six. If your window is dim, a basic LED grow light on a timer, 12 to 14 inches above the sprouts, costs less over a season than one failed tray.
Hardening off is the gradual process of acclimating indoor seedlings to outdoor conditions over seven to ten days. Day one, one hour of sun and shade afterwards. Day two, two hours. Add roughly an hour a day and bring them in if the afternoon sun is brutal. By day seven or eight they can stay out overnight. Transplant on an overcast morning or in the evening, and water them in. Every plant lost to transplant shock is one you paid for twice.
Edmonton Timing: Last Frost, First Frost and What That Means
For an Edmonton garden, the practical answer to when to start is: begin seeds indoors in March and April, and plant outdoors after mid-May. The average last spring frost lands around the middle of May and the average first fall frost arrives in the last third of September, giving roughly three and a half frost-free months. Long summer daylight more than compensates for the short season, but only if you use it. Check Environment and Climate Change Canada’s frost table and your ten-day forecast, because an average is not a promise.
Start tomatoes, peppers and cucumbers indoors in early to mid April. Direct-sow peas, radishes, spinach and lettuce as soon as the ground is workable, because they tolerate light frost. Sow beans, squash and cucumbers directly once frost risk passes, since cold damages them. Choose early and mid-season varieties rather than the longest days-to-maturity ones on the packet.
The Budget Shopping List: Buy First, Buy Second, Buy Never
Buy first:
- A soil mix for the volume you calculated, plus a modest compost addition
- Seed packets for the crops you will genuinely eat
- Basic hand tools you do not own: a trowel, a hand fork, pruning shears
- Mulch, once you have something worth mulching
- Chicken wire or netting, only if you have had a problem with rabbits or birds
Buy second, in year two, once you know your garden:
- A second bed or more containers, if the first was genuinely full
- A drip line or soaker hose, if you are hand-watering more than twice a week in July
- Row cover or cold frame materials, to push the fall harvest
- Perennial herbs and a trellis for cucumbers and beans
Buy never, in your first year:
- Prebuilt raised bed kits. Four boards and corner posts cost a fraction of a kit and take an afternoon.
- Decorative stone or marble mulch. It costs more per cubic foot than a mulch that does the job.
- Bagged potting soil for outdoor beds. It is formulated for containers. Use it in pots.
- Seed-starting domes and propagation trays. A clear plastic bag and a rubber band do the same job.
- Fertiliser in year one. Decent soil and compost rarely need it. Wait until a soil test or a stalled plant tells you why.
- Anything that solves a problem you have not had yet. Deer fencing in a neighbourhood with no deer is the classic version.
Ongoing Care on a Budget
Water deeply and less often. An inch of water once or twice a week beats a daily sprinkle, because shallow watering keeps roots near the surface. Stick a finger two inches into the soil and water if it is dry. In containers, water when the top inch is dry and never leave a pot sitting in water overnight.
Mulch everything. A few inches of straw, grass clippings, shredded leaves or newsprint over damp soil cuts evaporation, suppresses weeds and keeps the soil cool. It is also the cheapest weed control there is.
Compost your kitchen scraps instead of buying amendments. A bin of coffee grounds, eggshells, peelings and yard waste produces genuine compost within a season. Keep greens and browns roughly even, and bury nitrogen-heavy peels under dry browns.
Keep critters out with wire, not gadgets. Chicken wire bent into a half-hoop over a bed makes a cloche from material you already own. A wire perimeter pinned to the ground with staples stops determined small animals, and a plastic owl on a stick works for birds in open beds.
Extend the season with salvaged windows. A cold frame is a box with a clear lid, and an old window frame laid across cinder blocks makes one for the cost of a few fasteners. It buys two to three extra weeks at each end, which matters more here than in a mild climate.
Going on vacation does not require an elaborate system. Group containers so they shade each other, move them out of full wind, and water deeply the morning you leave.
Planting for Your First Harvest Without Waste
Plant what you eat, not what looks impressive. A recurring rule in the veggie-growing forums is that it makes no sense to grow a crop you will not use, and it is the most common beginner regret. If your family does not eat Brussels sprouts, do not devote four square feet to them.
For yield per square foot in a short season, favour bush beans, zucchini, trellised cucumber, radishes, leaf lettuce picked continuously, and cherry tomatoes. Radishes are the fastest confidence-builder available, and beans and zucchini feed a household for weeks.
The mid-summer glut is the other big source of waste. Pick zucchini and beans every second day rather than weekly, and freeze, dehydrate or turn surplus into sauce instead of letting it sit. Sow a second small batch of bush beans about three weeks after the first. Succession planting, staggering small sowings instead of planting everything at once, is free and it flattens the peak.
For year two, save seed from the healthiest, earliest, best-tasting plant of each open-pollinated variety. Most vegetable seed stays viable for three to five years when kept cool and dark, so one packet can cover several seasons. Library seed programs and gardening-group seed swaps cost nothing.
When a Budget Garden Actually Pays for It
The question that comes up most on forums is whether growing food is genuinely cheaper than buying it, and the honest answer involves a method rather than a slogan. Annualized cost is what you paid for something divided by the number of years it keeps working, and cost per pound is that annualized cost divided by the pounds you actually harvested. The method matters because it spreads one-time purchases, which is exactly what beginners forget.
Worked example, no prices required. Suppose your bed frame and other permanent parts account for about sixty percent of your first-year bill and will last eight years. Spread across eight seasons, that frame adds under ten percent to every later year. If your soil mix, tools and containers together equal about a quarter of the first bill and last five years or more, they add about five percent a year.
Then divide by weight harvested. A bed that gave a couple of hundred pounds of produce across a season has a small enough cost per pound that you will never again wonder whether it was worth it. Thirty pounds is not flattering, and the fix is not a bigger bed next year, it is planting more of what you actually eat. Your time is not in this calculation, and for a first garden it is the largest cost of all.
Frequently Asked Questions
What month should you start a vegetable garden?
In Edmonton, start most seeds indoors in March and April, and plant outdoors after mid-May. Direct-sow peas, radishes, spinach and lettuce as soon as the ground is workable, because they tolerate light frost. Sow beans, squash and cucumbers directly once frost risk has passed, since cold damages them.
What is the 70/30 rule in gardening?
The 70/30 rule is a planting guideline for beginners: fill roughly seventy percent of your available space with sun-loving crops such as tomatoes, peppers and beans, and reserve the remaining thirty percent for shade-tolerant crops including lettuce, spinach, parsley, mint and chard.
What is the easiest vegetable garden for beginners?
The easiest vegetable garden for beginners is a four by four foot raised bed in full sun, filled with a good soil mix. It is small enough to water and weed in an afternoon, narrow enough to reach the middle from all sides, and large enough to produce a meaningful first harvest. With no yard, use containers at least six inches deep.
How many vegetables can I grow in a 4×8 raised bed?
A 4 by 8 foot bed holds thirty-two square feet, and plant counts follow standard spacing. At one plant per square foot you get 32 tomatoes, peppers or trellised cucumbers. At four you get 128 lettuce or herb plants, and at nine, 288 bush beans or beets. Radishes and carrots fit 16 per square foot, for 512 plants.
How do I start a vegetable garden with no money?
Use free containers such as buckets, tubs and egg cartons, fill them with soil mix and compost made from your own kitchen scraps, and grow from seed rather than buying transplants. The top advice on the biggest gardening forum thread for this question is to start with containers and one plant of whatever you want to try.
Is it cheaper to buy plants or grow vegetables from seed?
Growing from seed is far cheaper per plant, because one packet holds enough seed for several starts while a tray of transplants costs several times that. Buy transplants only for crops that will not ripen in a short season, which in Edmonton means tomatoes, peppers and some melons. Grow everything else from seed.
Conclusion
Knowing how to start a vegetable garden on a budget comes down to restraint at three points: grow from seed instead of buying plants, build the bed from materials you already have instead of a kit, and keep the footprint small enough that you can actually water and harvest it. Spend what remains on good soil and reliable water, and the money side takes care of itself after year one.
Three things to do this week. Watch a candidate spot for full sun across one whole day, measure it, and calculate your soil volume in cubic feet. Pick five crops you eat weekly and check their days to maturity against an early September frost. Then buy one packet of seeds, one bag of soil mix, and nothing else.